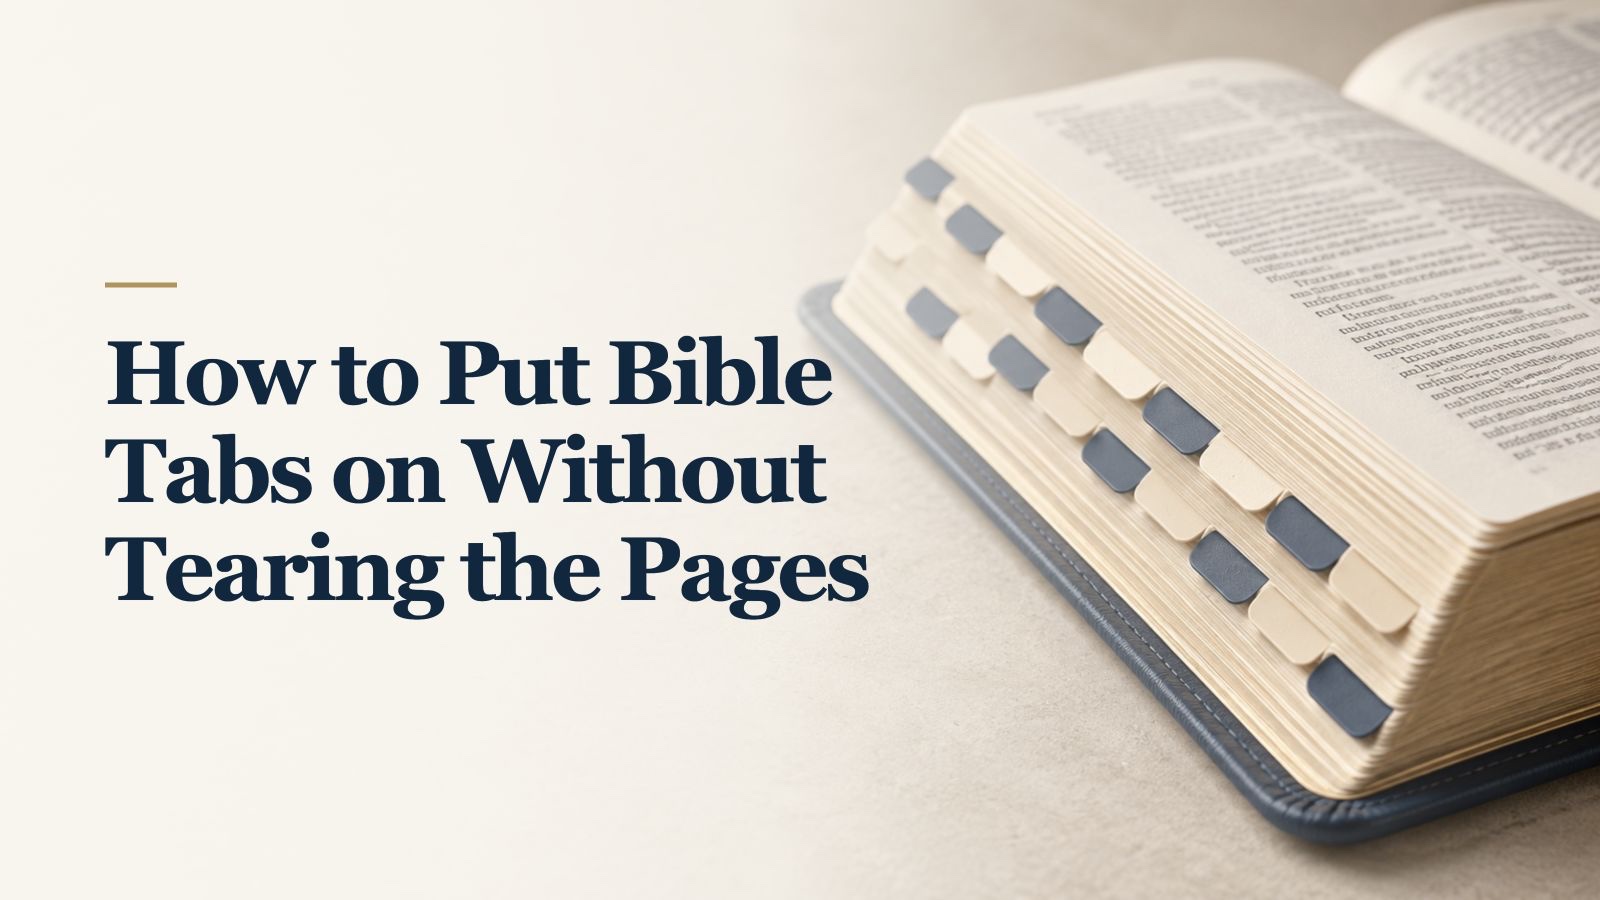
Bible tabs are a small addition that can make finding a passage feel much less hurried. Getting the first few straight takes a little patience, especially when the paper is thin.
The safest starting point is simple: use the positioning guide for your exact tab set, work with one page at a time, and check the placement before folding the tab. I would rather take an extra moment over Genesis than spend the rest of the afternoon trying to rescue a crooked row.
This guide covers self-adhesive, fold-over book tabs. The drawings explain the method; your pack’s instructions take priority where its design differs.
Before you peel anything
Check that the set suits your Bible's page height and book collection. Catholic, Protestant, and other editions do not all contain the same books, and a compact Bible may need a different tab size.
What to have beside you
- Your Bible on a clean, flat surface.
- The complete tab set and its own positioning guide.
- A plain sheet of paper or thin card to support the page.
- A ruler if the instructions ask you to measure or trim the guide.
- A practice tab, if the pack supplies one, and a spare sheet of paper.
Good light helps. A heavy book balanced on your lap makes it harder to keep a delicate page still, so I would use a table for the installation.
If you have not chosen a set, the Majestic Bible Tabs review explains the formats and styles. Choose for fit and readability first. Decorative details can come after that.
Start with the guide and a closed Bible
Before applying a tab, hold the positioning guide against the page edge and look at the whole arrangement. Where will the first row begin? Where does the next row restart? Will the lower tabs clear the bottom of the book?
Some guides need trimming to the height of the page. Others have marks for different Bible sizes. Use the instructions supplied with the tabs rather than copying the spacing from a photograph of somebody else’s Bible.
Close the Bible briefly and check how far the tabs will extend beyond the cover. A placement that looks attractive on an open page may be awkward inside a close-fitting Bible case.
Find the page before exposing the adhesive
Locate the start of the book you are tabbing, then read the pack’s instruction about which page to use. Some sets specifically direct you to a right-hand page even if the title begins on the left.
Slip your support sheet behind that single page. Check that a second thin page has not clung to it. You want the tab attached to one leaf of paper, not two pages accidentally joined together.
Keep the guide aligned with the top of the page as the manufacturer shows. Let it determine the position. Guessing from the previous tab can carry a small mistake down an entire row.
Align the tab, then fold

Align. Check the book name and the correct guide mark. Peel only as the pack instructs, then position the tab so its fold line sits at the page edge. Keep the printed label visible and the tab clear of the Scripture text.
Check. Before folding the second half, look again at the page underneath. Is it still a single page? Is the label the right way up? Is the tab at the intended mark?
Fold and press. Follow the fold line around the edge and bring the two halves together. Smooth the adhesive gently against the supported page. Keep the paper flat rather than pulling it toward the tab.
If your set uses a different construction, pause here and use its method. A general tutorial should never override the instructions for the adhesive in your hand.
Build the rows gradually
Work through a short section, then close the Bible and inspect the edge. You should be able to see the book labels clearly without one covering the next.
Restart a row where the guide tells you to. Avoid pushing each new tab a little farther out just to make its label visible. That can create a ragged edge and leave the tabs more exposed to catching inside a bag.
If your guide groups books into several rows, it is normal for tabs to share similar vertical positions in different parts of the Bible. The page sequence helps separate them. Follow the complete pattern rather than trying to make every book occupy its own unique spot down one edge.
Take a break if you start rushing. There is no reward for finishing all the books in one sitting.
Common mistakes and what to do instead
Two pages caught together
Check before the second half is folded. A support sheet behind the chosen page makes it easier to see which leaf you are working on.
A crooked tab
Check whether the adhesive is repositionable. If the paper begins lifting with the tab, stop. A slightly uneven label is preferable to a torn page.
Labels hiding one another
Recheck the row pattern and the guide's fit. Do not try to repair the arrangement by pulling the next tabs farther beyond the page.
A Bible that no longer fits its case
Check the closed Bible and case clearance before installation. The cover and the new tabs both need room.
Do not assume heat, solvents, or a hard pull will safely release the adhesive. Thin Bible paper and different tab materials can react differently. If removal matters, ask the manufacturer before experimenting.
Open at the tab without pulling on it
A tab is a marker, not a handle for the weight of the book. Support the Bible as you open it and guide the pages at the chosen label instead of lifting the Bible by the tab.
Ascension’s instructions specifically warn that pulling or lifting tabs can tear delicate pages. That is useful advice to keep in mind even when you choose a different set.
A final check before you put the Bible away
- Each label matches the book it opens to.
- No tab has joined two pages together.
- Labels are readable when the Bible is closed.
- Folded edges lie neatly against the pages.
- The cover or case is not pressing awkwardly on the tabs.
Once everything is in place, keep using your Bible normally. The tabs are there to make it easier to get to the passage, and the passage is where the worthwhile part begins.
For a simple way to organize what you notice while reading, try the Bible highlighter color key. If you want more room for notes, our journaling Bible guide can help with that choice.
Instructions consulted
Mr. Pen’s tab-placement tutorial and Ascension’s Great Adventure indexing tabs. Original illustrations explain the placement method; consult the instructions supplied with your exact tab set.