To use a study Bible, read the Scripture passage first, check its context, consult the notes for a specific question, follow relevant cross-references, and return to the passage before applying it. You do not need to read every item on the page to have a worthwhile study session.
A study Bible brings several kinds of information into one binding. The most important first step is learning which words belong to the biblical text and which were supplied by translators, editors, or commentators. Those helpers can be valuable without carrying the same authority as Scripture.
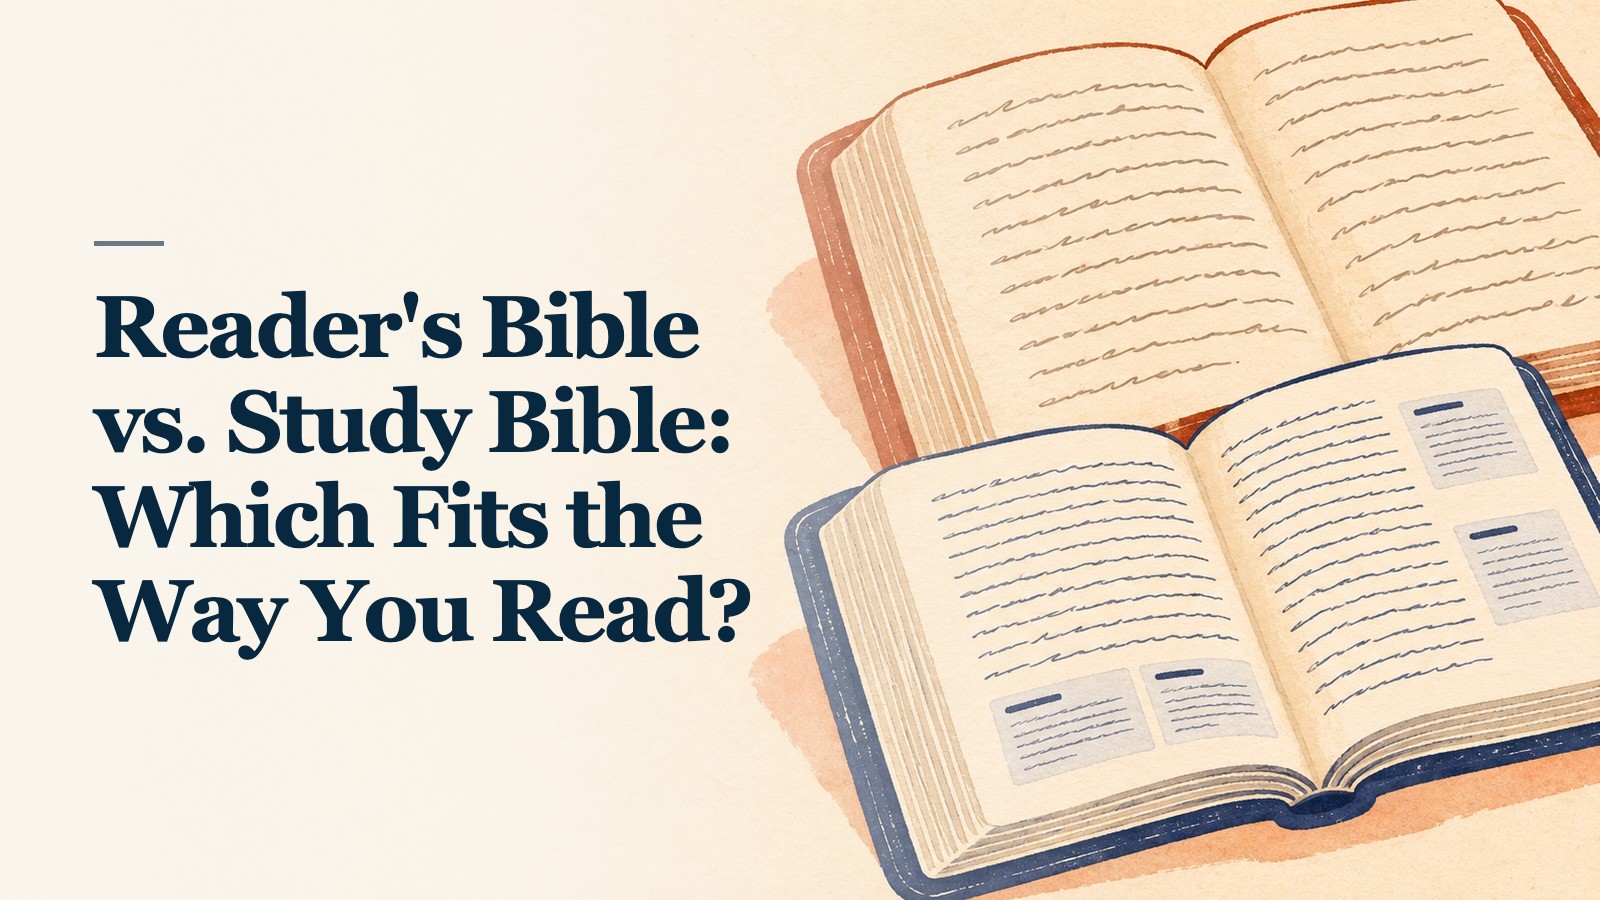
What are the different parts of a study Bible page?
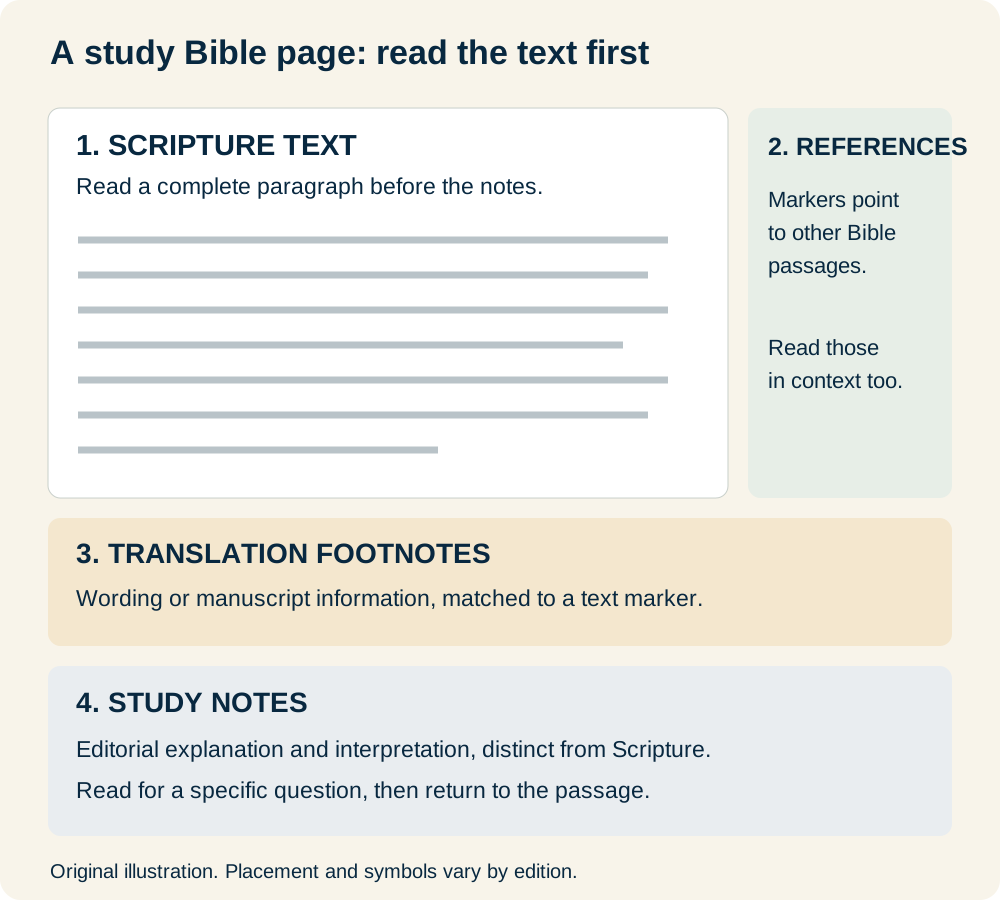
Original explanatory diagram, not a reproduction of a publisher’s page. Publishers arrange these features differently. The boxes show their functions rather than an exact edition’s typography.
| Page feature | What it does | How to use it |
|---|---|---|
| Scripture text | Presents the Bible translation | Read the whole paragraph before consulting commentary |
| Chapter and verse numbers | Provide navigation | Locate a passage without assuming every verse starts a new thought |
| Section heading | Labels a passage's subject | Treat it as an editorial guide, then read the passage |
| Cross-reference | Points to another biblical passage | Read the linked passage in its own context |
| Translation footnote | Explains a wording, manuscript, or translation issue | Match its marker to the relevant word or phrase |
| Study note | Offers an editor's explanation | Evaluate how it accounts for the actual passage |
| Book introduction | Explains setting, structure, and themes | Read it when beginning a book |
| Map or chart | Organizes places, events, or relationships | Check its title, legend, and historical scope |
For a named example, the ESV Study Bible publisher page identifies notes, cross-references, introductions, and visual study tools. Its layout and theological approach are particular to that edition. A Life Application edition, another translation, or a compact format may arrange things differently. Use the introductory explanation printed in your own Bible as the legend for its symbols.
Step 1: Read a complete paragraph first
Start with a manageable passage. A narrative episode or a short paragraph gives you something more useful than an isolated sentence picked at random.
Ask three observation questions before reaching for the notes:
- Who is speaking or acting, and who is being addressed?
- What happens, or what claim is being made?
- Which repeated words, contrasts, or connecting words organize the thought?
Write down what you can actually see. For example, “Jesus responds to a question with a story” is an observation. “This must mean I should accept a particular job” is a personal conclusion that the passage has not established.
If a sentence begins with therefore, but, or because, read backward until you understand what it connects to. Chapter and verse divisions are navigation aids; an argument can cross a chapter boundary.
Step 2: Use the book introduction to establish context
A book introduction can help you identify genre, setting, audience, purpose, and an outline. These details affect how you read. Poetry, letters, historical narrative, and wisdom sayings are not interchangeable kinds of writing.
Use the outline to place your paragraph in the larger section. Then notice how the introduction handles uncertainty. Some historical or authorship questions are debated. A careful reader can distinguish what the text explicitly says from an editor’s reconstruction or interpretation.
You do not need to solve every introductory question before reading. Choose the two or three details that help explain the passage in front of you. Keep a separate question list for issues that would otherwise interrupt the whole session.
Step 3: Read the study note that answers your question
Study notes are commentary, not an additional layer of inspired text. They may explain historical customs, identify an Old Testament reference, trace an argument, or suggest an application. They also reflect the editors’ theological commitments.
I would ask what a note contributes. Does it identify a detail I missed? Explain a word in context? Show why a sentence belongs to the surrounding argument? If it states a conclusion, can I see the reasoning in the passage?
When two study Bibles disagree, read the biblical paragraph again before choosing a side. Compare the reasons each supplies. A difference about an interpretation should not be hidden by presenting one set of notes as the only possible Christian reading.
Our ESV Study Bible and Life Application comparison discusses different editorial purposes. Choosing a study approach is separate from deciding which Bible translation you prefer.
Step 4: Follow a cross-reference without losing the passage
Cross-reference markers are often small letters attached to words in the text. Find the matching letter in the reference column or nearby list, then decode the abbreviated book name and numbers. In a reference such as Luke 10:27, Luke is the book, 10 the chapter, and 27 the verse.
A reference may point to a quotation’s source, a parallel account, a related theme, or another occurrence of an expression. It does not mean that the two passages address identical circumstances.
Try this sequence:
- Write down the question that made you follow the reference.
- Open the linked passage and read its surrounding paragraph.
- Identify the actual connection: quotation, event, word, or theme.
- Return to the original passage and record what the comparison clarified.
Worked textual connection: Luke 10:27 brings together commands found in Deuteronomy 6:5 and Leviticus 19:18. Read Luke 10:25-37, then the surrounding sections in those Old Testament books. Notice both love for God and love for one’s neighbor. Return to Luke and observe how the subsequent story addresses the lawyer’s question about the neighbor.
This is a reproducible comparison of biblical references, not a claim that every edition prints those exact cross-reference markers beside the verse. If your Bible has no reference there, you can still compare the passages directly.
Step 5: Distinguish translation footnotes from study notes
A translation footnote can explain that a word is also translated another way, that the original-language expression is literal in a certain form, or that manuscripts differ. A study note may discuss the meaning of the same verse, but it serves a different purpose.
Before reading either one, match the symbol carefully. A superscript number may point to a translation note while a letter points to a reference column, but conventions vary. Check your edition’s opening pages instead of assuming a universal key.
If a footnote mentions an alternative reading, do not silently insert both alternatives into the verse as though they were one sentence. Read the explanation and, when needed, consult a fuller discussion from a reliable reference work or a knowledgeable teacher.
Step 6: Use maps and charts for the right question
A map is useful when location matters to the passage. Look for the relevant period, then find the places, route, scale, and legend. A modern political map and a map of the first-century Mediterranean answer different questions.
For Luke 10, a map of Judea can help locate Jerusalem and Jericho. It cannot identify an exact roadside location for the story or prove details the text does not supply. Let the map clarify geography without turning the illustration into extra narrative facts.
Charts also need context. A Gospel-parallels chart can help you compare accounts, but you should still read each account’s own sequence and emphasis. An estimated timeline should be read as estimated when the editor labels it that way.
A worked study session with Luke 10:25-37
Here is an original model you can adapt. It paraphrases the passage and does not quote a copyrighted translation.
| Stage | Example entry |
|---|---|
| Read | Luke 10:25-37 as a complete exchange and story |
| Observe | A legal expert asks questions; Jesus responds; the story contrasts several responses to a wounded traveler |
| Ask | How does the story address the question about who qualifies as a neighbor? |
| Compare | Read Deuteronomy 6:5 and Leviticus 19:18 in context alongside Luke 10:27 |
| Consult | Read the note on the question or the Samaritan, noticing the evidence it gives |
| Summarize | The passage moves attention toward showing mercy rather than finding a reason to limit responsibility |
| Apply | Identify one specific person whose need I could respond to this week |
| Pray | Ask for willingness to show mercy and honesty about excuses |
The application is an example response, not a claim that this passage settles every question about charitable giving, boundaries, or emergencies. Good application grows from the text without pretending one short study resolves every related issue.
What if you only have fifteen minutes?
Try a simple starting schedule: five minutes reading and observing, five checking one question with notes or references, and five summarizing, praying, and choosing a response. Some passages need more time. The purpose of the schedule is to make starting manageable, not to force understanding into a timer.
Stop with one honest question if necessary. A notebook entry that says “I need to understand this connection” is more useful than copying a confident explanation you do not yet understand.
Do beginners need a study Bible?
A study Bible is useful, but it is not a requirement for beginning Scripture reading. You can start with a Bible, an ordinary notebook, and help from a trusted church or teacher. Our beginner Bible-study guide explains the different resource types.
If you already own a study Bible, learn its opening pages before shopping for another. If you are choosing one, compare its theological scope, readable note size, and intended audience in our study Bible guide. The best next step is often learning to use the resource you have.
Research note: edition information was checked November 6, 2026. The diagram and worked session are original teaching examples, not photographs or reports of hands-on product testing.